
November 15th
We arrived at Fugitives Drift around 16.00
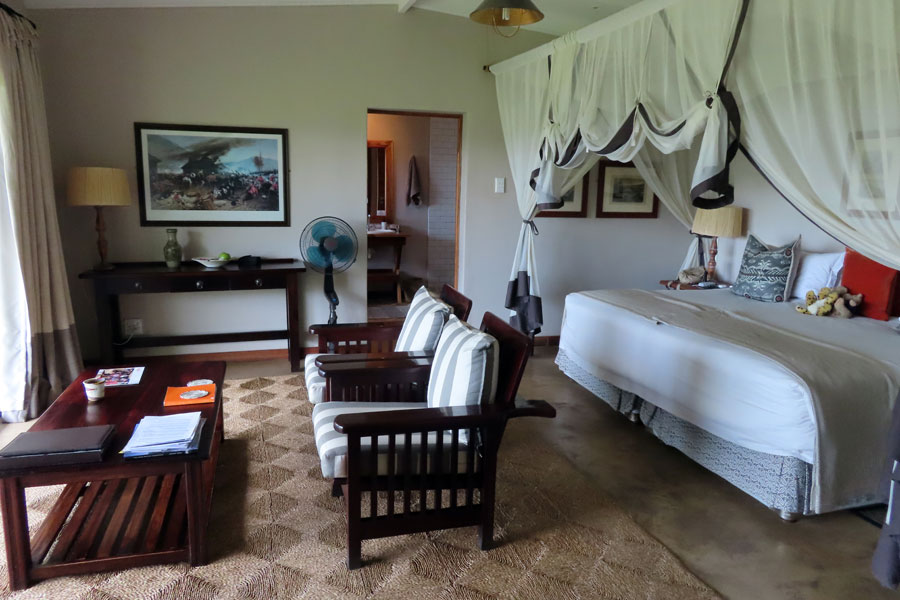
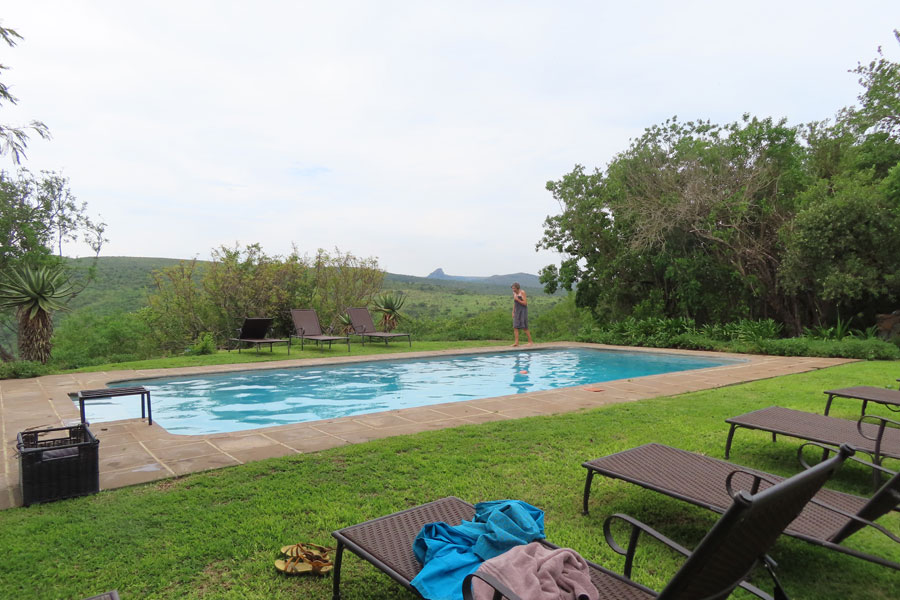
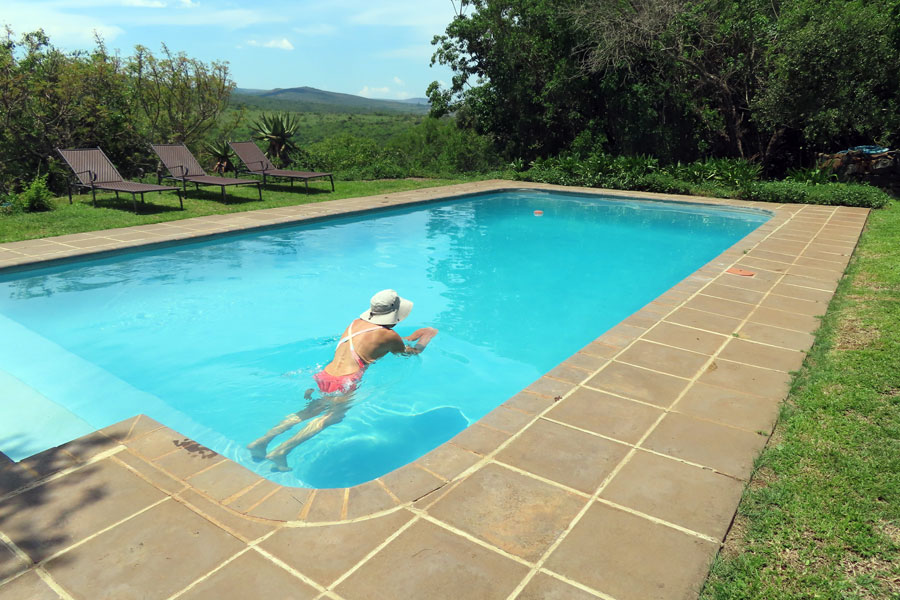
We found that we have been upgraded to the lodge where the rooms were three times the price of the guesthouse that we had booked. I went for a swim in the pool, where David kept his foot on the roving vacuum cleaner so that I would not get attacked by it. We then wandered to the Harford library, and impressive building with a fine lounge and balcony overlooking the river.
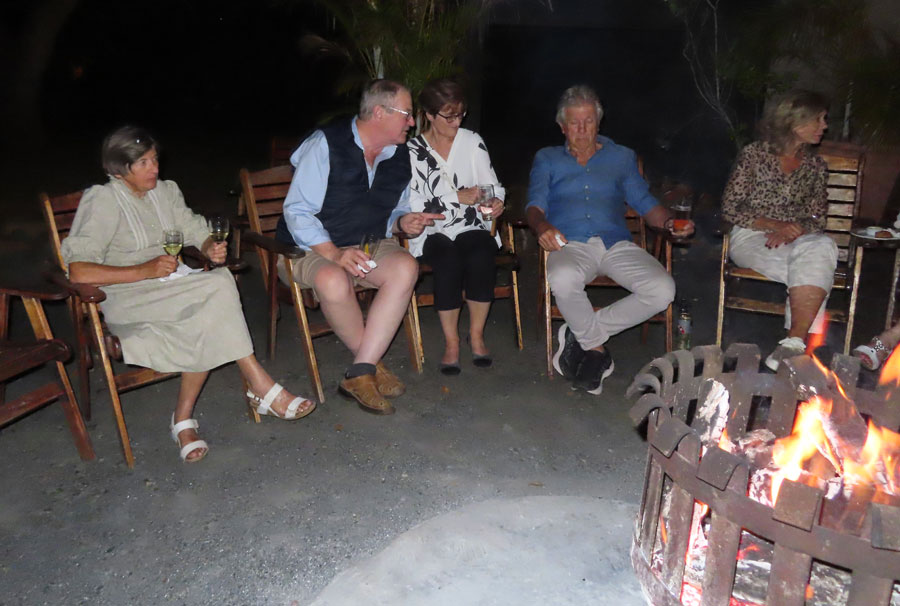
Went up to dinner soon after seven and drinks round open fire with the only two other guests David and Jane. Then inside for dinner with the host, Doug Rattray. Interesting conversation, but I could not always understand Doug's soft voice
November 16th
We had breakfast at 7 o’clock a we were at reception at 7:30 for the trip to Isandlwana, the site of the battle between the Zulus and British in 1879. We had a very good guide, Brian, who drove us , with two others, over the Buffalo river from Natal to Zululand, to a museum with a good view of the hill where the British under Lord Chelmsford were camped. During the drive we listened to a recording by David Rattray of the Day of the Dead Moon.
Then we drove to the hill , with cairns denoting graves and some individual graves and monuments. During a coffee stop he gave a long description of the battle and the victory of the Zulus.
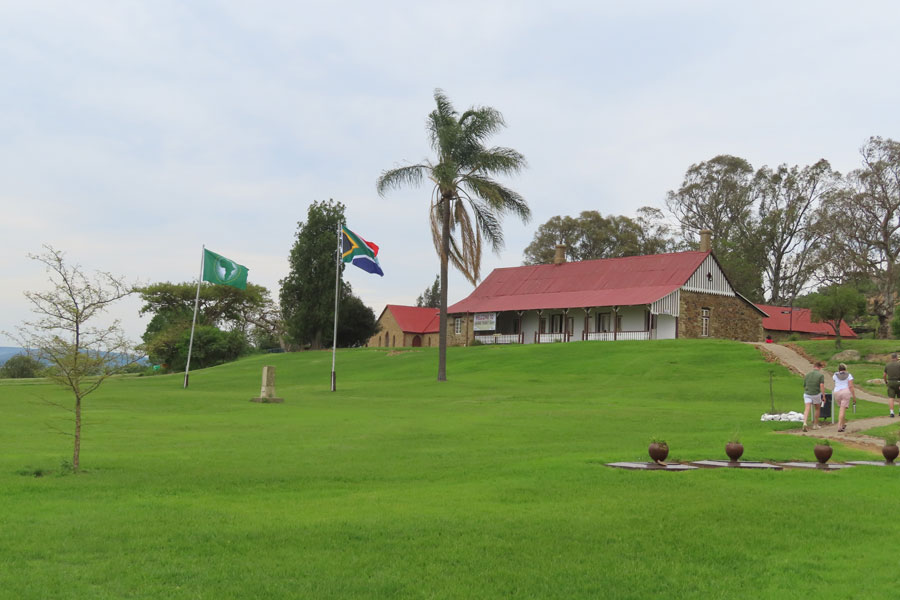
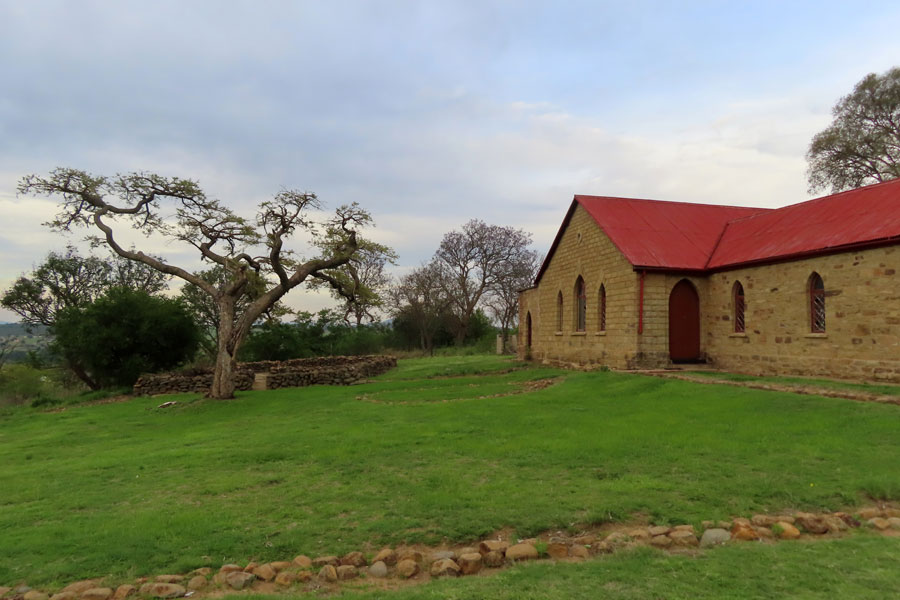
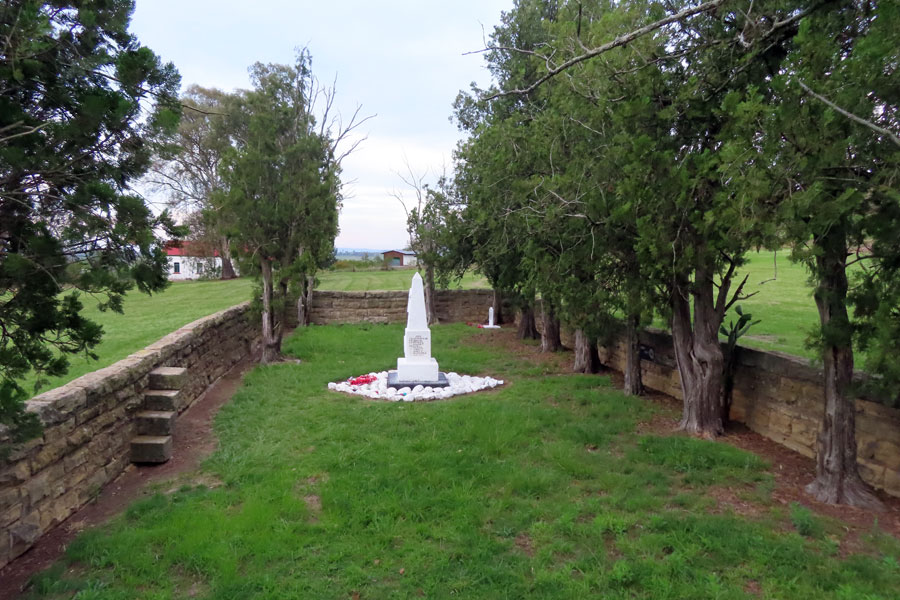
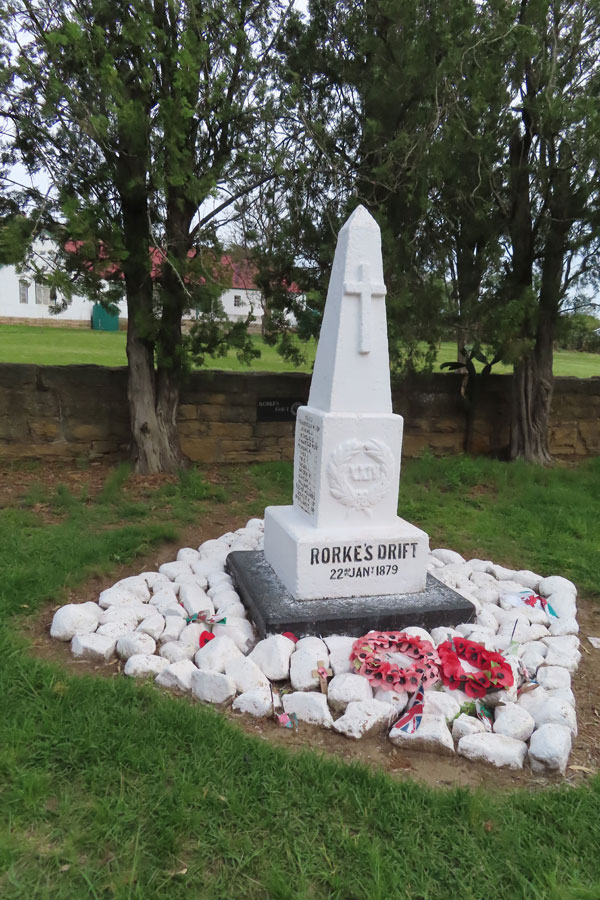
We got back for a delicious lunch and then I had a swim. We went out again with four others at 3pm to Rorkes Drift where a small number of the 24th Welsh regiment had survived a 12 hour attack by 4000 Zulus on the subsequent day after Isandlwana. 14 VCs were awarded as a consequence of this. Doug gave a long, passionate, emotional account of this. We then saw the memorials for both the British and Zulu dead.
Drinks around the fire and then another good dinner where we chatted to Brian.
A Second Day at Fugitives Drift . November 17th
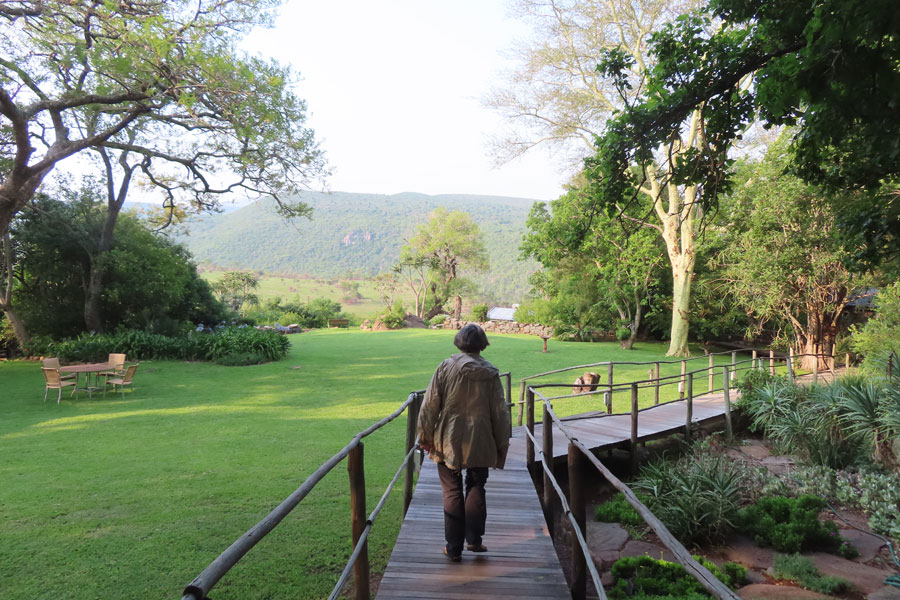
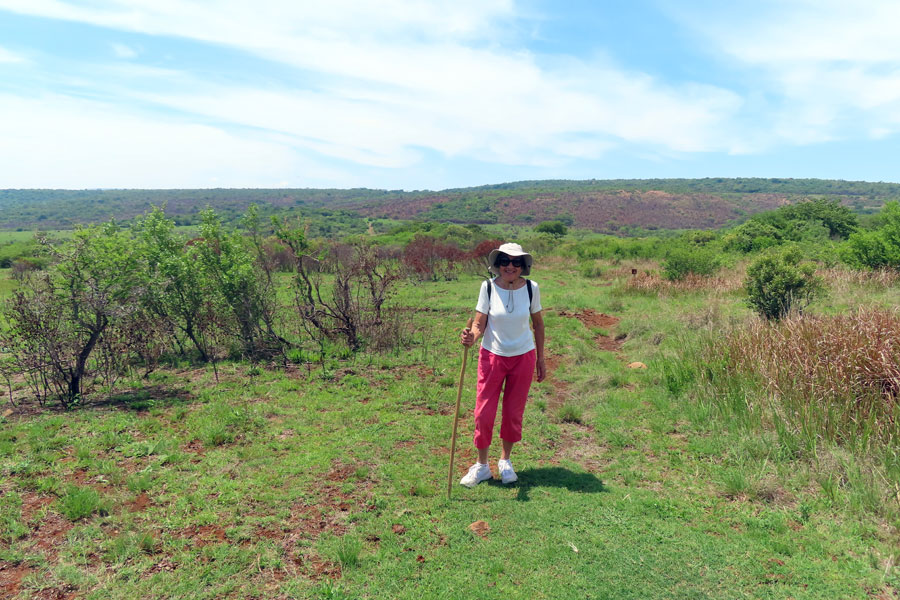
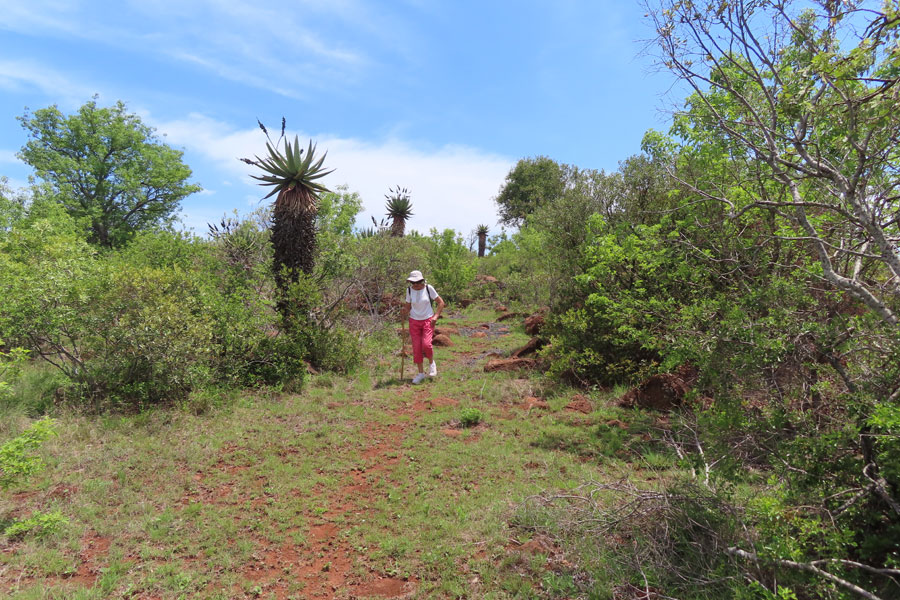
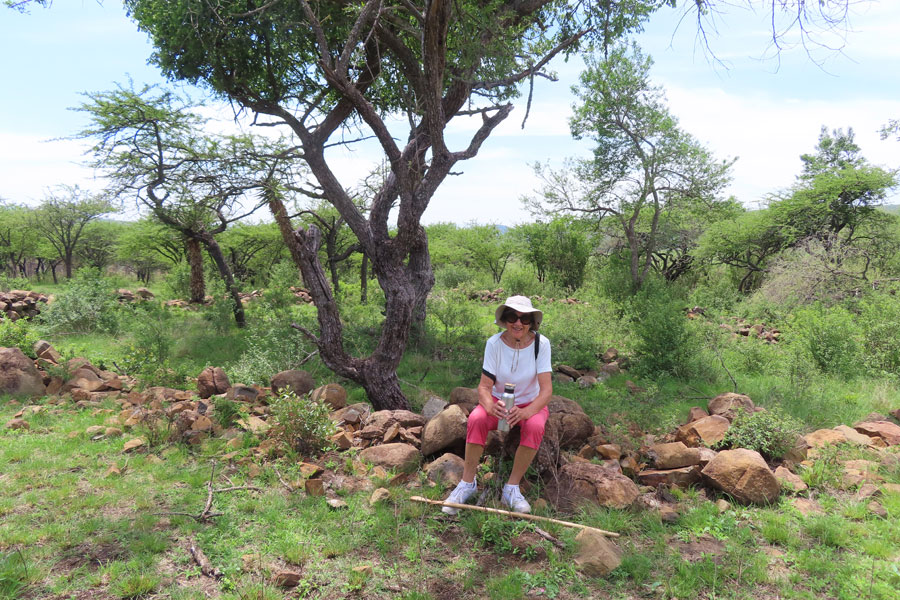
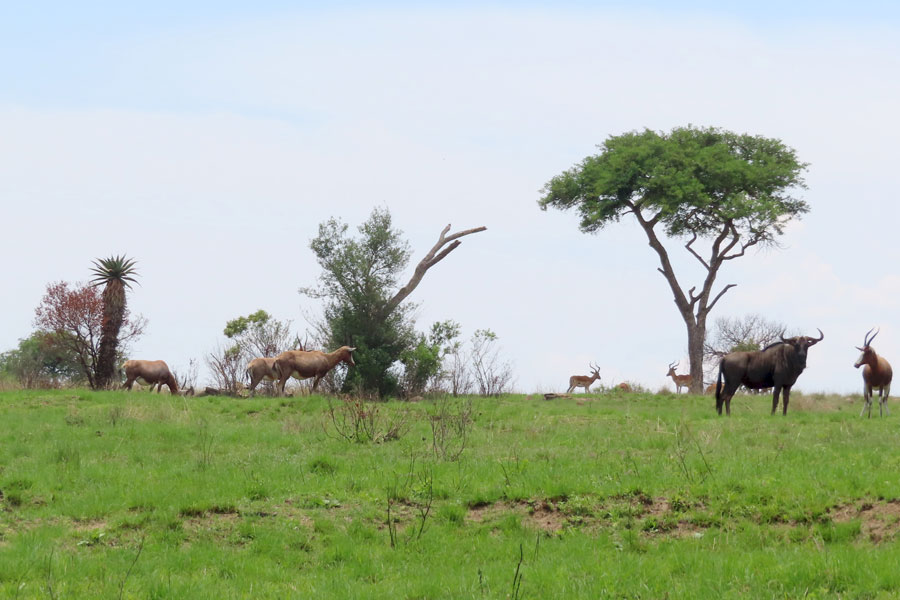
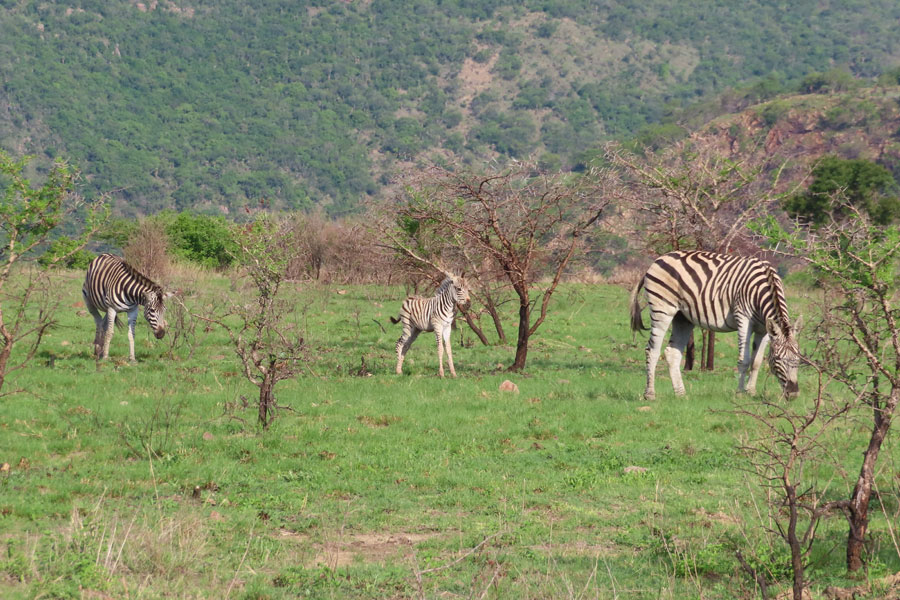
A supposedly leisurely day with no set outings in vehicles. We had a good breakfast and then ventured out on a 4 km walk . This took us over two hours. It was very hot by the time we got back to the lodge. I then went for a swim by which time it was time for lunch. This was very good again and afterwards I had a siesta.
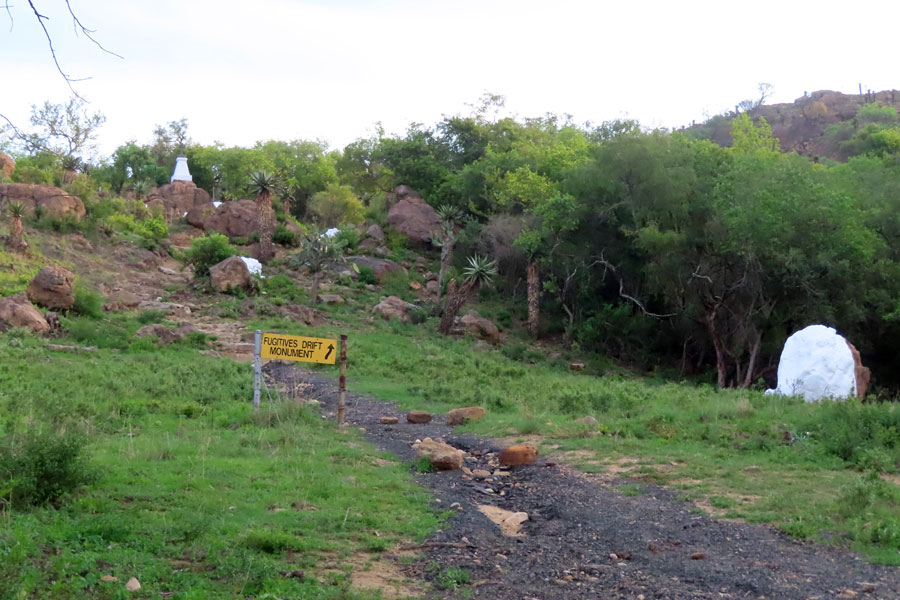
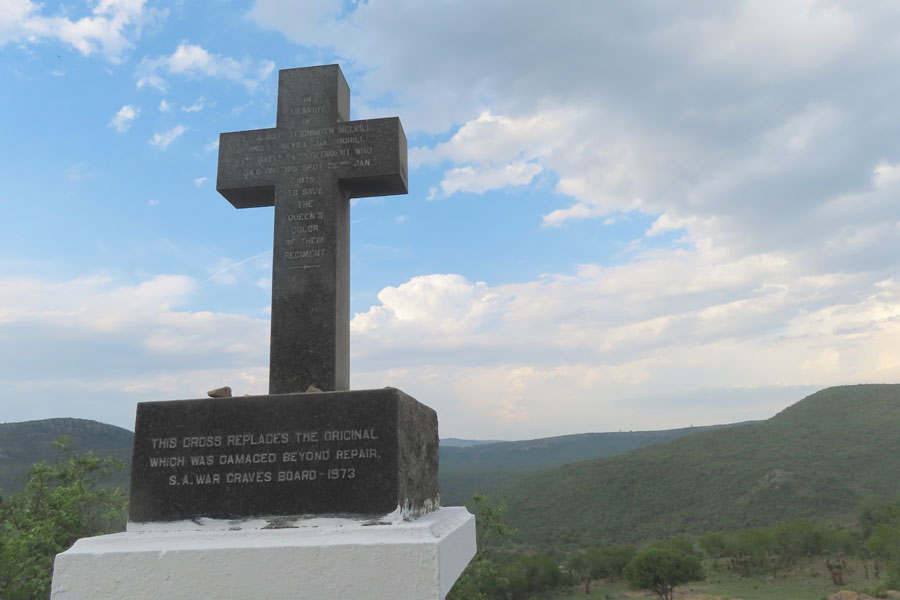
Then at 3:30 we had afternoon tea followed by a walk to see the graves of Coghill and Melville. We were quite a large group guided by one is their gap year assistants. By this time, the temperature was much lower and it was a really good walk with great views of the river Buffalo and more accounts of how the British had fled across the river, losing regimental colours en route. Near the end of the walk we were surprised to find cocktails set out for us: most welcome.
There were 25 people for dinner with no host this time.
Fugitives Drift to Three Tree Hill Lodge. November 18th
A morning at leisure. After breakfast, we sat on our balcony until 10 am when we vacated the room and decamped to their Harford Library, where we spent the next three hours, reading and enjoying the magnificent view over the Buffalo River. I also had a swim in the middle of this period.
After lunch in the same building, we left the lodge for the three hour journey to Three Tree Hill Lodge.
Fugitive Drift Lodge
Click on any of the thumbnail photos for a larger version
 |
 |
 |
 |
 |
 |
 |
 |
 |
 |
 |
 |
 |
 |
 |
 |
 |
 |
 |
 |
Battle of Isandhlwana
The Battle of Isandlwana on 22 January 1879 was the first major encounter in the Anglo-Zulu War. Eleven days after the British invaded Zululand , a Zulu force of some 20,000 warriors attacked a portion of the British main column consisting of about 1,800 British, colonial and native troops with approximately 350 civilians. The Zulus were equipped mainly with the traditional assegai iron spears and cow-hide shields,but also had a number of muskets and antiquated rifles. The British and colonial troops were armed with modern Martini–Henry breechloading rifles and two 7-pounder mountain guns deployed as field guns,as well as a Hale rocket battery.
The Zulus had a vast disadvantage in weapons,but they greatly outnumbered the British and ultimately overwhelmed them, killing over 1,300 troops. The Zulu army suffered anywhere from 1,000 to 3,000 killed.
The battle was a decisive victory for the Zulus and the British Ary suffered its worst defeat against an indigenous foe equipped with vastly inferior military technology. Isandlwana resulted in the British taking a much more aggressive approach in the Anglo–Zulu War, leading to a heavily reinforced second invasion,and the destruction of King Cetshwayo's hopes of a negotiated peace.
While Chelmsford was in the field seeking them, the entire Zulu army had outmanoeuvred him, moving behind his force with the intention of attacking the British Army on the 23rd. The Zulu attack then developed into a pitched battle with the traditional horns and chest of the buffalo, with the aim of encircling the British position. From Pulleine's vantage point in the camp, at first only the right horn and then the chest (centre) of the attack seemed to be developing. Pulleine sent out first one, then all six companies of the 24th Foot into an extended firing line, with the aim of meeting the Zulu attack head-on and checking it with firepower. Durnford's men, upon meeting elements of the Zulu centre, had retreated to a donga, a dried-out watercourse, on the British right flank where they formed a defensive line. The rocket battery under Durnford's command, which was not mounted and dropped behind the rest of the force, was isolated and overrun very early in the engagement. The two battalions of native troops were in Durnford's line. While all the officers and NCOs carried rifles, only one in 10 in the ranks had a firearm, and those few weapons were muzzle-loading muskets with limited ammunition Many of the native troops began to leave the battlefield at this point.
Durnford's men, who had been fighting the longest, began to withdraw and their rate of fire diminished. Durnford's withdrawal exposed the right flank of the British regulars, which, with the general threat of the Zulu encirclement, caused Pulleine to order a withdrawal back to the camp. The regulars' retreat was performed with order and discipline and the men of the 24th conducted a fighting withdrawal into the camp. Durnford's retreat, however, exposed the flank of G Company, 2nd/24th, which was overrun relatively quickly.
Once their ammunition had been expended, surviving British soldiers had no choice but to fight on with bayonet and rifle butt. Of the 1,800-plus force of British troops and African auxiliaries, over 1,300 were killed, most of them Europeans, including field commanders Pulleine and Durnford. Only five Imperial officers survived (including Lieutenant Henry Curling and Lieutenant Horace Smith-Dorrien), and the 52 officers lost was the most lost by any British battalion up to that time.
There was no casualty count of the Zulu losses by the British such as made in many of the other battles since they abandoned the field. Nor was there any count by the Zulu
1,000 Martini-Henry rifles, the two field artillery guns, 400,000 rounds of ammunition, three colours, most of the 2,000 draft animals and 130 wagons, provisions such as tinned food, biscuits, beer, overcoats, tents and other supplies, were taken by the Zulu or left abandoned on the field. Of the survivors, most were from the auxiliaries. The two field artillery guns which were taken to Ulundi as trophies, were later found abandoned by a British patrol after the Battle of Ulundi.
Click on any of the thumbnail photos for a larger version
Battle of Rorkes Drift
The Battle of Rorke's Drift, also known as the Defence of Rorke's Drift, was an engagement in the Anglo-Zulu War. The successful British defence of the mission station of Rorke's Drift, under the command of Lieutenants John Chard of the Royal Engineers and Gonville Bromhead, of the 24th Regiment of Foot began when a large contingent of Zulu warriors broke off from the main force during the final hour of the British defeat at the day-long Battle of Isandlwana on 22 January 1879, diverting 6 miles to attack Rorke's Drift later that day and continuing into the following day.
Just over 150 British and colonial troops defended the station against attacks by 3,000 to 4,000 Zulu warriors. The massive but piecemeal attacks by the Zulu on Rorke's Drift came very close to overwhelming the much smaller garrison, but were consistently repelled. Eleven Victoria Crosses were awarded to individual defenders, along with a number of other decorations and honours.
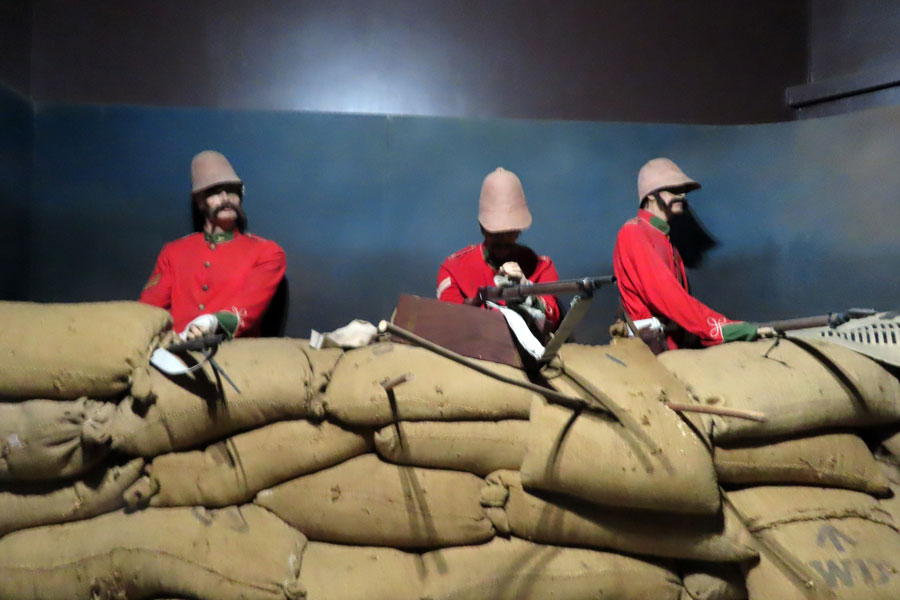
The British decided they could not leave Rorkes Drift as they would have been cut down in the open. So once they decided to stay, Chard and Bromhead directed their men to make preparations to defend the station. With the garrison's 400-odd men working diligently a defensive perimeter was quickly constructed out of mealie bags, biscuit boxes and crates of tinned meat. This perimeter incorporated the storehouse, the hospital, and a stout stone kraal. The buildings were fortified, with loopholes (firing holes) knocked through the external walls and the external doors barricaded with furniture.
When news of the Zulu's approach got to the Mission Station, Henderson's NNH troop left and Captain Stevenson's NNC company abandoned the cattle kraal and fled, greatly reducing the strength of the defending garrison. With the Zulus nearly at the station, the garrison now numbered between 154 and 156 men
With fewer men, Chard realised the need to modify the defences, and gave orders that biscuit boxes be used to construct a wall through the middle of the post in order to make possible the abandonment of the hospital side of the station if the need arose.
The British on the barricades – including Dalton and Bromhead – were soon engaged in fierce hand-to-hand fighting. The British wall was too high for the Zulus to scale, so they resorted to crouching under the wall, trying to get hold of the defenders' Martini–Henry rifles, slashing at British soldiers with assegais or firing their weapons through the wall. At places, they clambered over each other's bodies to drive the British off the walls but were driven back.
Chard realised that the north wall, under near constant attack from the Zulus, could not be held. At 6:00 p.m., he pulled his men back into the yard, abandoning the front two rooms of the hospital in the process. The hospital was becoming untenable; the loopholes had become a liability, as rifles poking out were grabbed at by the Zulus. As it became clear the front of the building was being taken over by Zulus, John Williams began to hack a way of escape through the wall dividing the central room and a corner room in the back of the hospital. As he made a passable breach, the door into the central room came under furious attack from the Zulus, and he had time only to drag two bedridden patients out before the door gave way. Gradually the British retreated to the end of the hospital, from where they could reach the rest of the garrison
The evacuation of the burning hospital completed the shortening of the perimeter. As night fell, the Zulu attacks grew stronger. The cattle kraal came under renewed assault and was evacuated by 10:00 p.m., leaving the remaining men in a small bastion around the storehouse: the British troops had withdrawn to the centre of the station, where a final defence had been hastily built.
As dawn broke, the British could see that the Zulus were gone; all that remained were the dead and severely wounded. Patrols were dispatched to scout the battlefield, recover rifles, and look for survivors. At roughly 7:00 a.m., an impi of Zulus suddenly appeared, and the British manned their positions again. No attack materialised, however, as the Zulus had been on the move for six days prior to the battle and had not eaten properly for two. In their ranks were hundreds of wounded, and they were several days' march from any supplies.
Soon after their appearance, the Zulus left the way they had come. Around 8:00 a.m., another force appeared, and the defenders left their breakfast to man their positions again. However, the force turned out to be the vanguard of Lord Chelmsford's relief column. At the end of the fighting, 400 Zulus lay dead on the battlefield. Only 17 British were killed, but almost every man in the garrison had sustained some kind of wound.
Click on any of the thumbnail photos for a larger version
 |
 |
 |
 |
 |
 |
 |
 |
 |
 |
 |
 |
Two walks around the Lodge
Click on any of the thumbnail photos for a larger version
 |
 |
 |
 |
 |
 |
 |
 |
 |
 |
 |
 |
 |
 |
 |
 |